

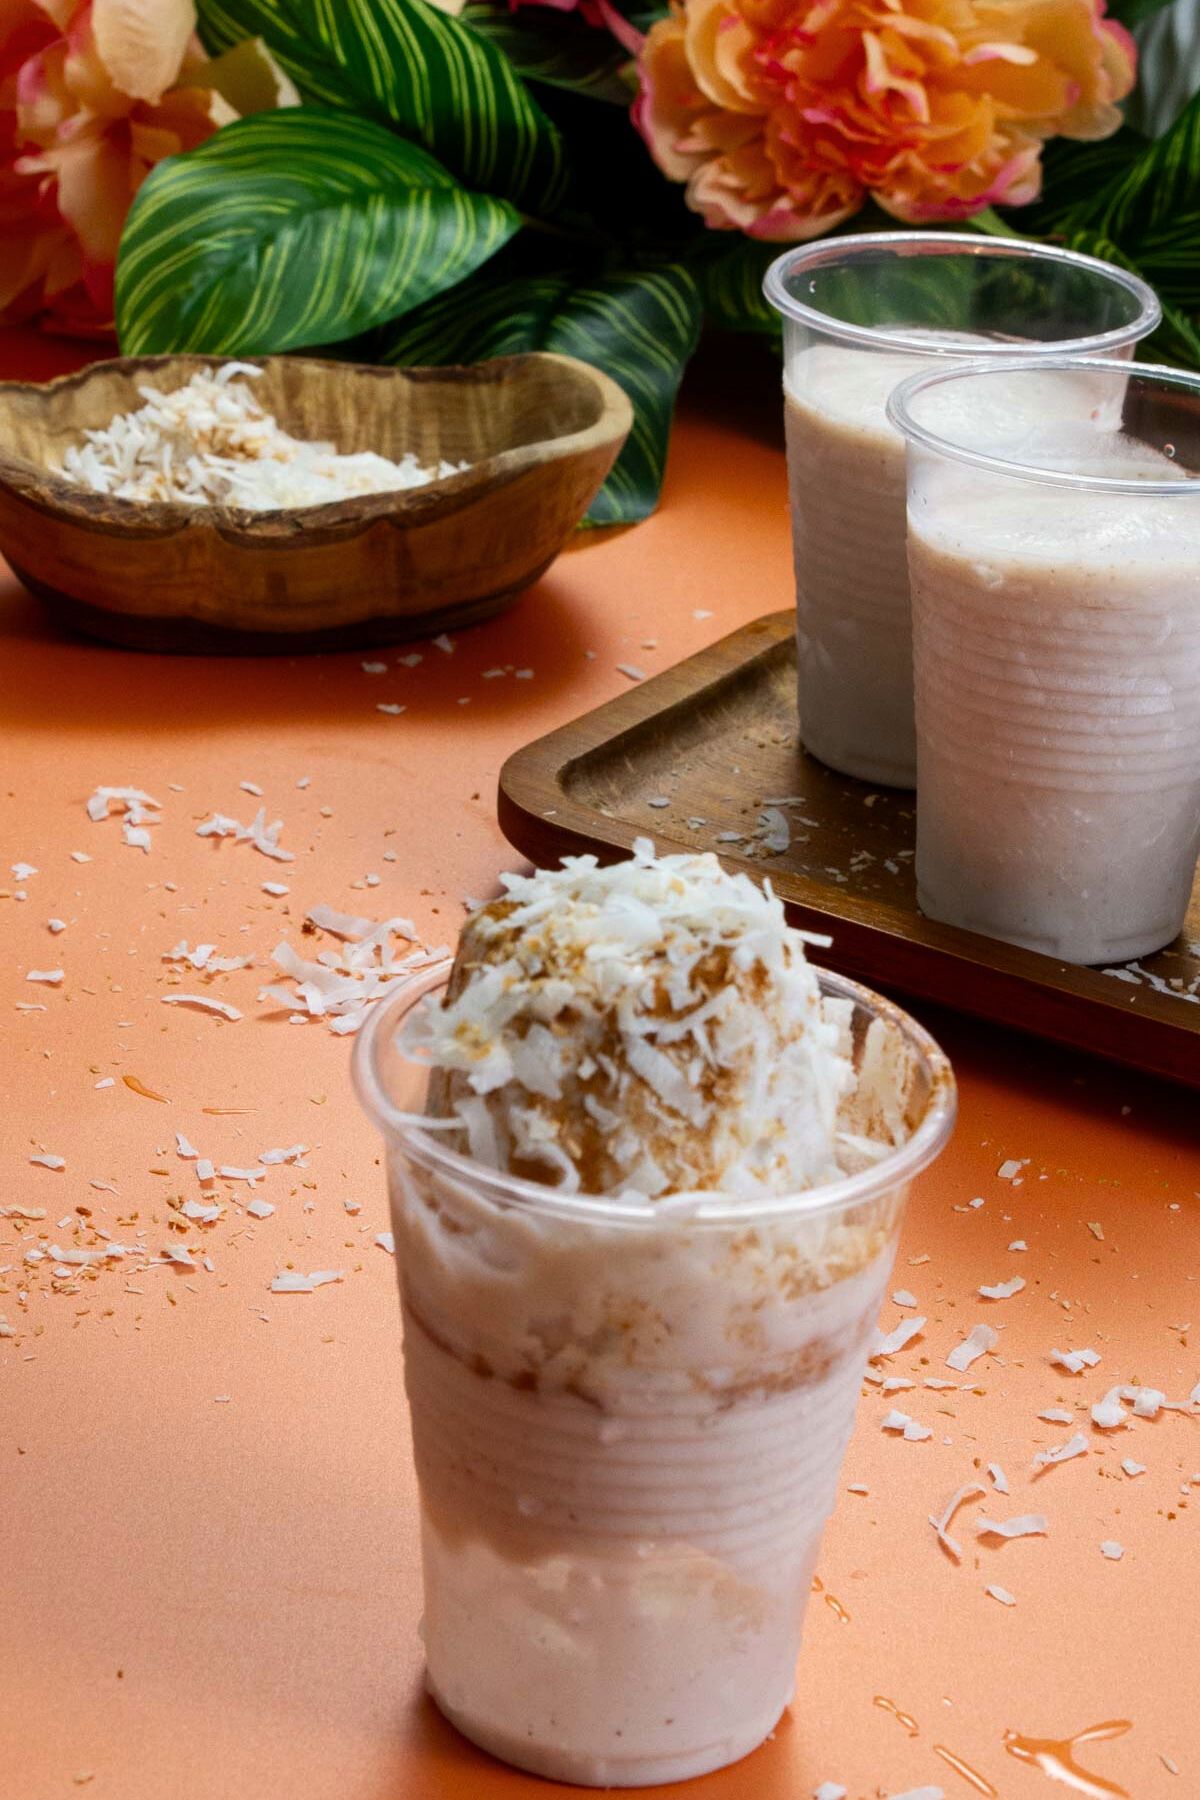
Limbers de coco are a classic Puerto Rican dessert, frozen, creamy, and ridiculously easy to make. This version is a full-on creamy dessert with coconut milk, cream of coconut, coconut heavy cream, and cinnamon. It's everything you loved about limber de coco, only creamier, smoother, and dairy-free.
Limbers de coco are peak summer comfort. Cool, creamy, and made for sticky hot afternoons in Puerto Rico. They're part of a long tradition of homemade frozen treats that were once sold from front doors and neighborhood carts, especially during school breaks and hot weekends. If you like pistachio, try my Creamy Pistachio Limbers with cardamom and matcha powder.
If you're into coconut-forward desserts, you'll love my Arroz con Dulce, Tembleque, or even my Pistachio Coquito. For a different direction, try savory options like Puerto Rican Polvorones, for a crumbly treat, or Panetela for a warm, gooey dessert. These limbers also pair well with classic summer recipes, such as Puerto Rican Pinchos, which are grilled and smoky with just the right kick.
Jump To
- 🏝️ What Are Limbers?
- Why you'll love this recipe
- Ingredient Notes
- Variations and Substitutions
- 🔥 Top Tip
- How to make Limbers de Coco
- ⭐️How to Eat a Limber Like a Puerto Rican 🥶
- 👩🍳 Expert Tips
- Recipe FAQs
- More Desserts, Sweets, and Breads
- 📖 Recipe
- 🔥 Top Tip
- ⭐️How to Eat a Limber Like a Puerto Rican 🥶
- 👩🍳 Expert Tips
- Comments
🏝️ What Are Limbers?
Limbers are Puerto Rican frozen treats named after Charles Lindbergh, who visited the island in 1928. However, there are multiple theories about the origin of the name; this one is the most accepted. Traditionally made in small cups, they come in a variety of flavors, including coconut and tamarind, as well as peanut butter and mango. They're a staple of Caribbean childhood summers, affordable, homemade, and endlessly customizable. This version focuses on the coconut classic but with a creamy twist.
Why you'll love this recipe
- No water: Most limber recipes use water to thin out the mix. Mine doesn't. This one is pure coconut richness, no shortcuts.
- Nostalgia: It brings all the Puerto Rican nostalgia with an upgraded dessert twist, and if you're not Puerto Rican, you'll be a fan in no time.
- You don't need fancy equipment: A saucepan, a spoon, disposable cups, and a freezer.
- Budget-friendly: They're so easy and cost-effective, you might skip store-bought ice cream entirely.
Ingredient Notes
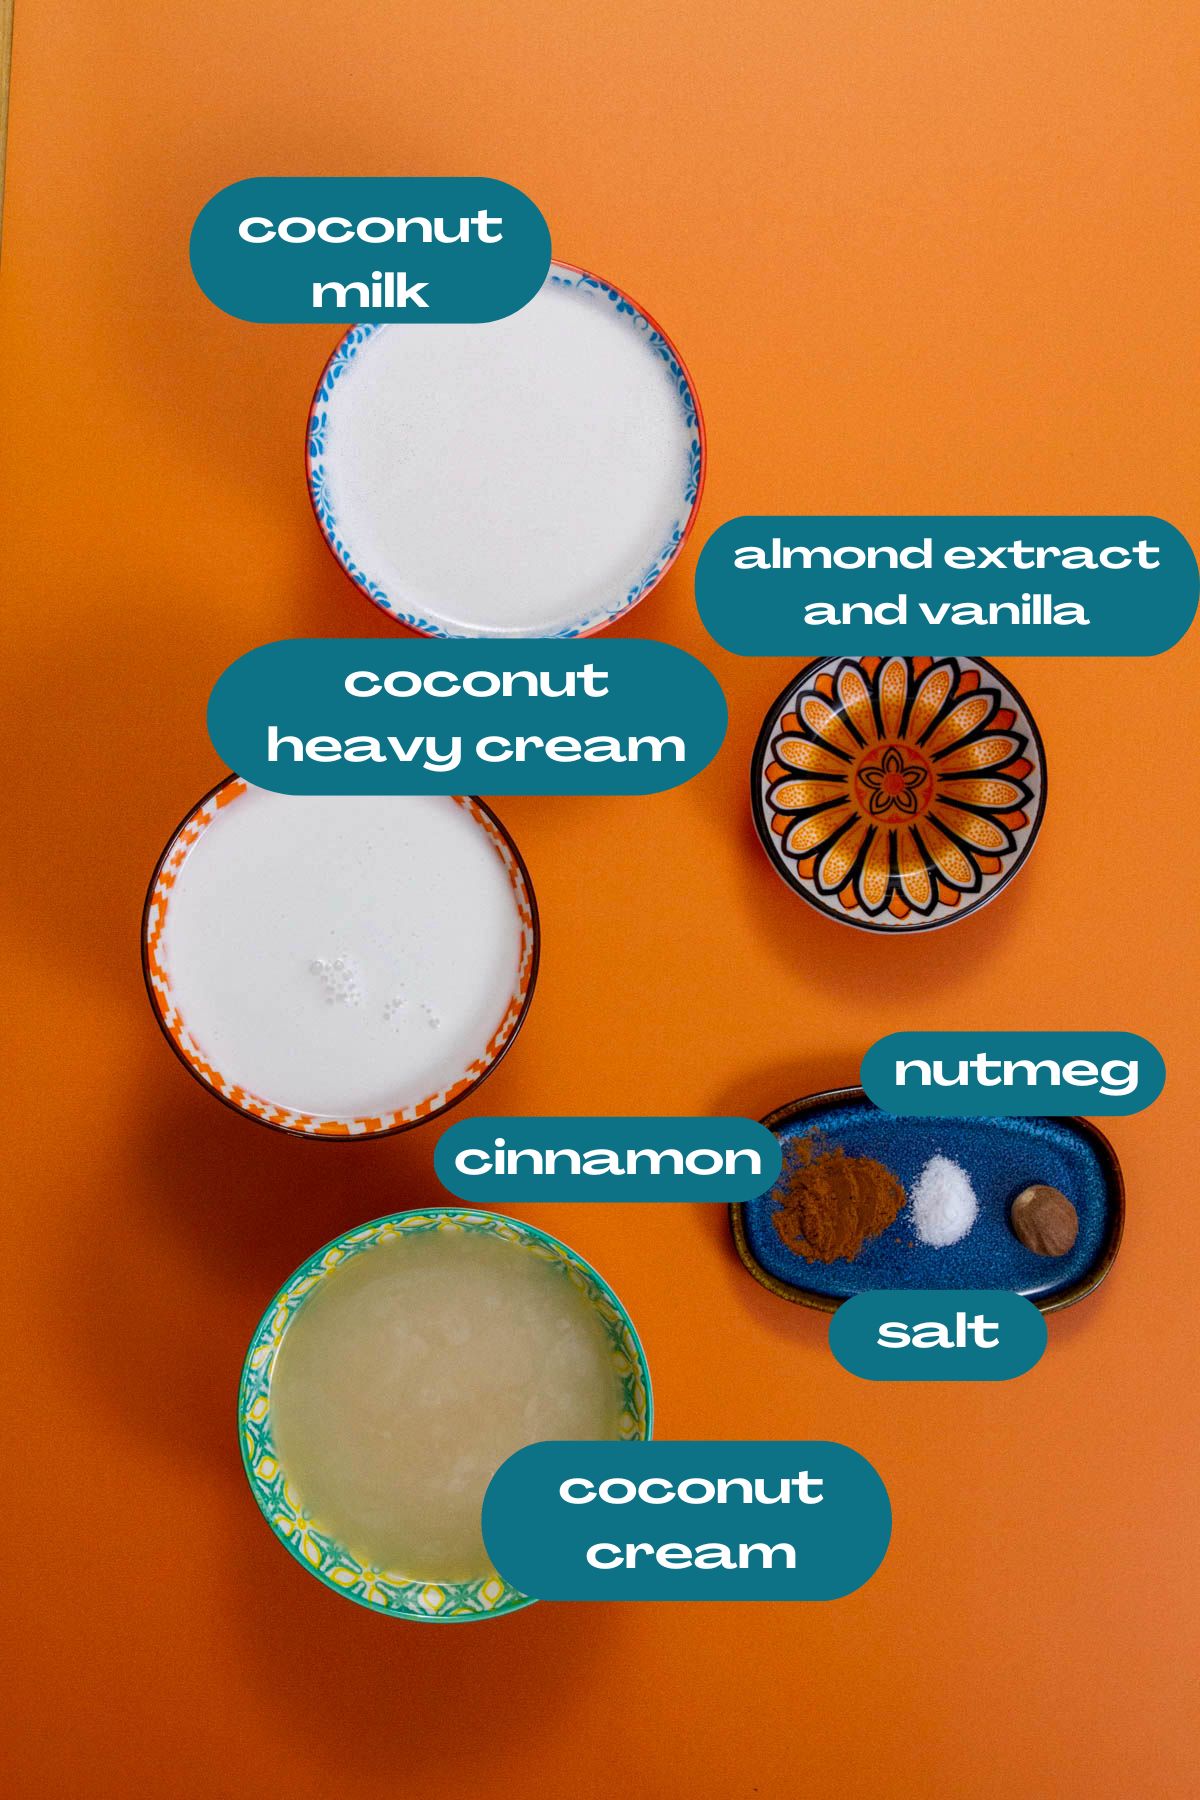
- Coconut Milk: This forms the base of the limber and gives it that signature coconut flavor. Use unsweetened, full-fat coconut milk for the best texture and richness.
- Cream of Coconut: Not to be confused with coconut cream, this one's sweet and syrupy (think Coco López). It balances the fat from the other ingredients and adds that classic limber sweetness.
- Coconut Heavy Whipping Cream: This is what sets my version apart from others. No water, no shortcuts, just heavy cream for a rich, creamy texture that feels more like coconut ice cream in a cup.
See my recipe card below for a complete list of the ingredients with measurements.
Variations and Substitutions
- Sweetened Condensed Milk: Sweetened condensed milk will bring the sweetness and body, but with a slightly different flavor profile than cream of coconut.
- Not a coconut fan? Use evaporated milk, condensed milk, and heavy whipping cream instead for a tres leches twist. Or add peanut butter for a limber de maní, or blend in mango pulp for a mango lassi vibe.
- Prefer a fruitier, non-cream base? Try passion fruit pulp with mango nectar and sugar. Warming the mix first helps it freeze firm, but with just enough give to sink your teeth into - no jackhammer needed.
- Alternative milks: Alternative milks are delicious swaps for coconut milk. Some of my favorites are almond milk, hazelnut (add a little cocoa powder for a poor man's Nutella vibe), and oat milk for a neutral, creamy base. Just sweeten to taste.
🔥 Top Tip
Warm the mixture before freezing.
Gently warming your limber base helps the fats from the coconut milk, cream of coconut, and heavy cream merge into a smooth, stable emulsion so you avoid the crunchy, icy fat layer that forms when milk is refrozen. It's the same principle used in ice cream making to prevent separation and maintain a silky texture. Science agrees that warming helps the fat emulsion stay stable as it freezes.
How to make Limbers de Coco
Here are the step-by-step instructions to make these homemade ice pops.

Step 1
Add all the ingredients to a pot and gently warm over low heat. Don't let it boil. Warming helps emulsify the fats, reduces excess water, and blends the

Step 2
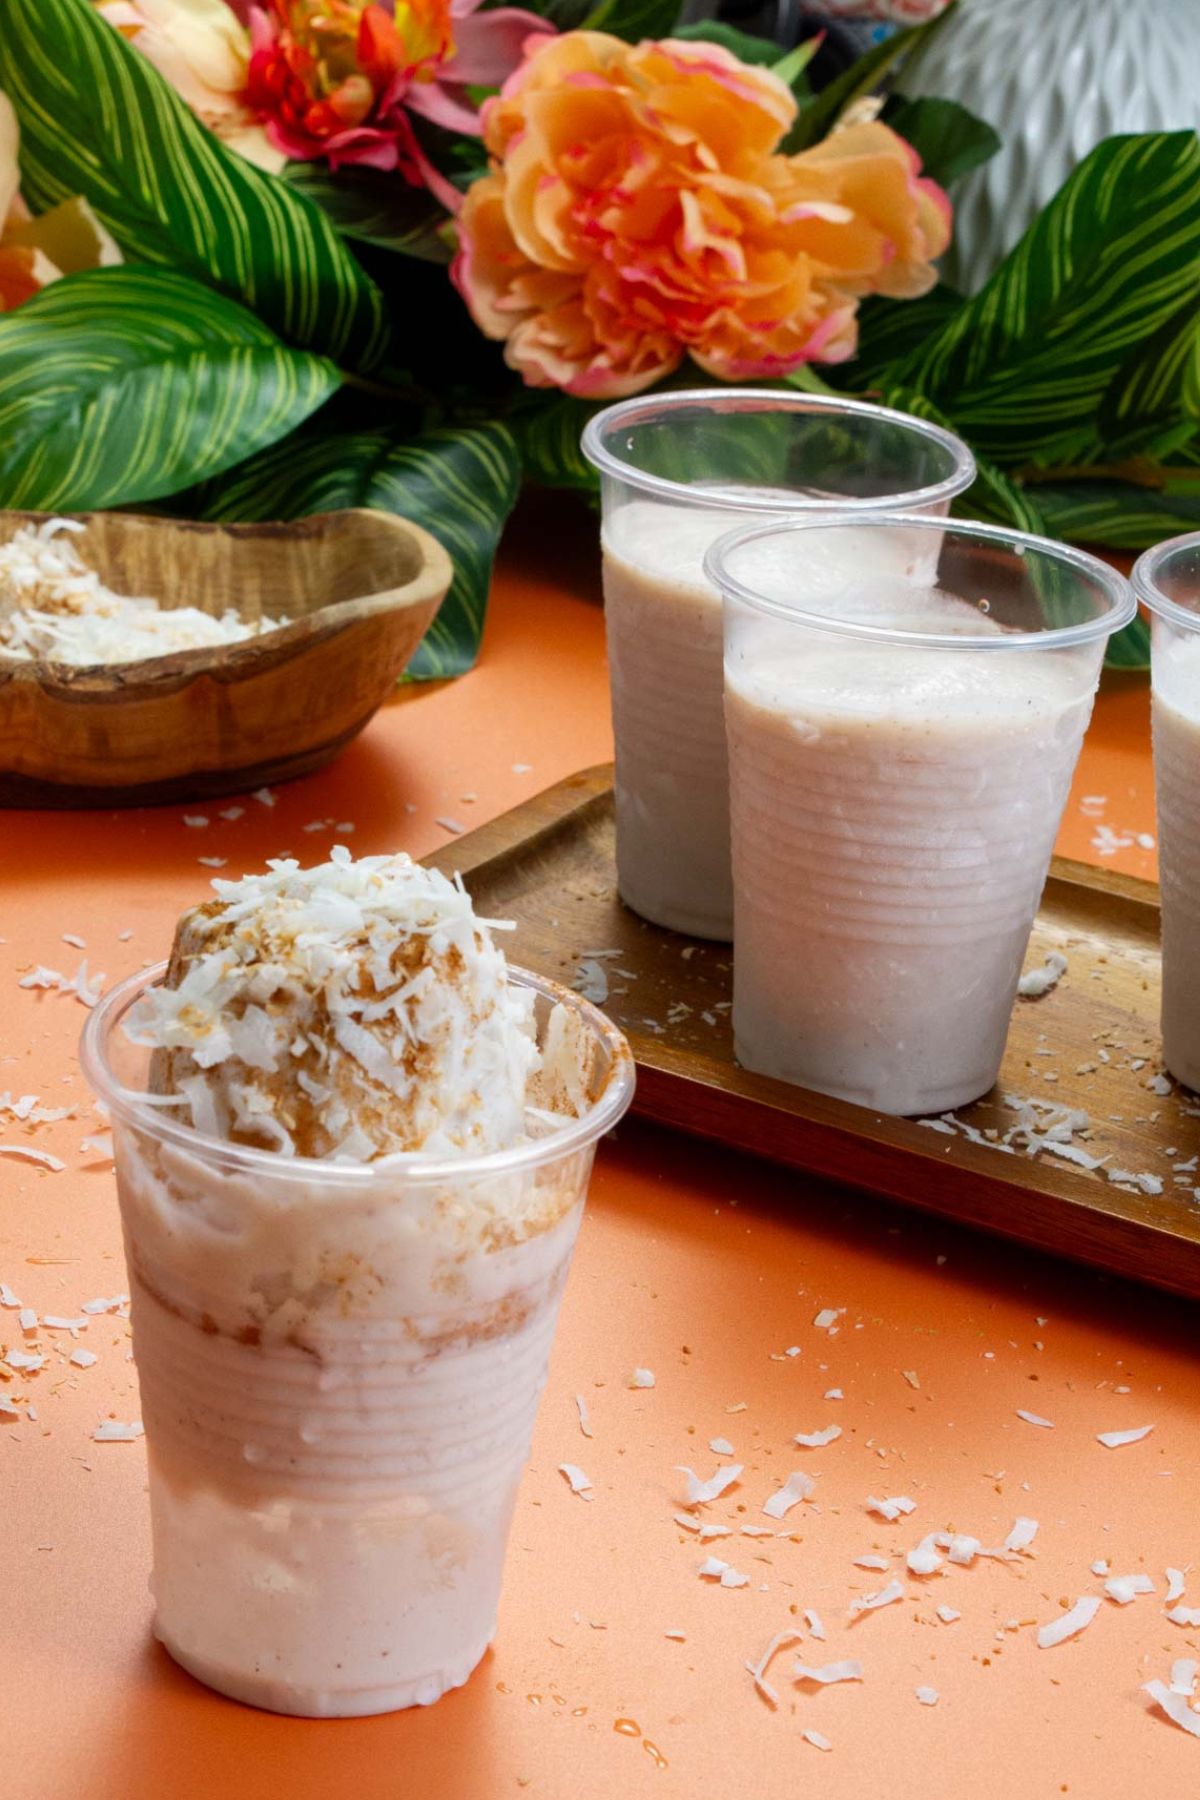
Pour the mixture into disposable cups. Do not fill all the way to the top. The liquid will expand as it freezes. I like to place the cups on a small plastic tray to catch any spills if they tip. Cover with lids, if you have them. Once fully frozen, transfer the limbers to a freezer bag for easier storage.
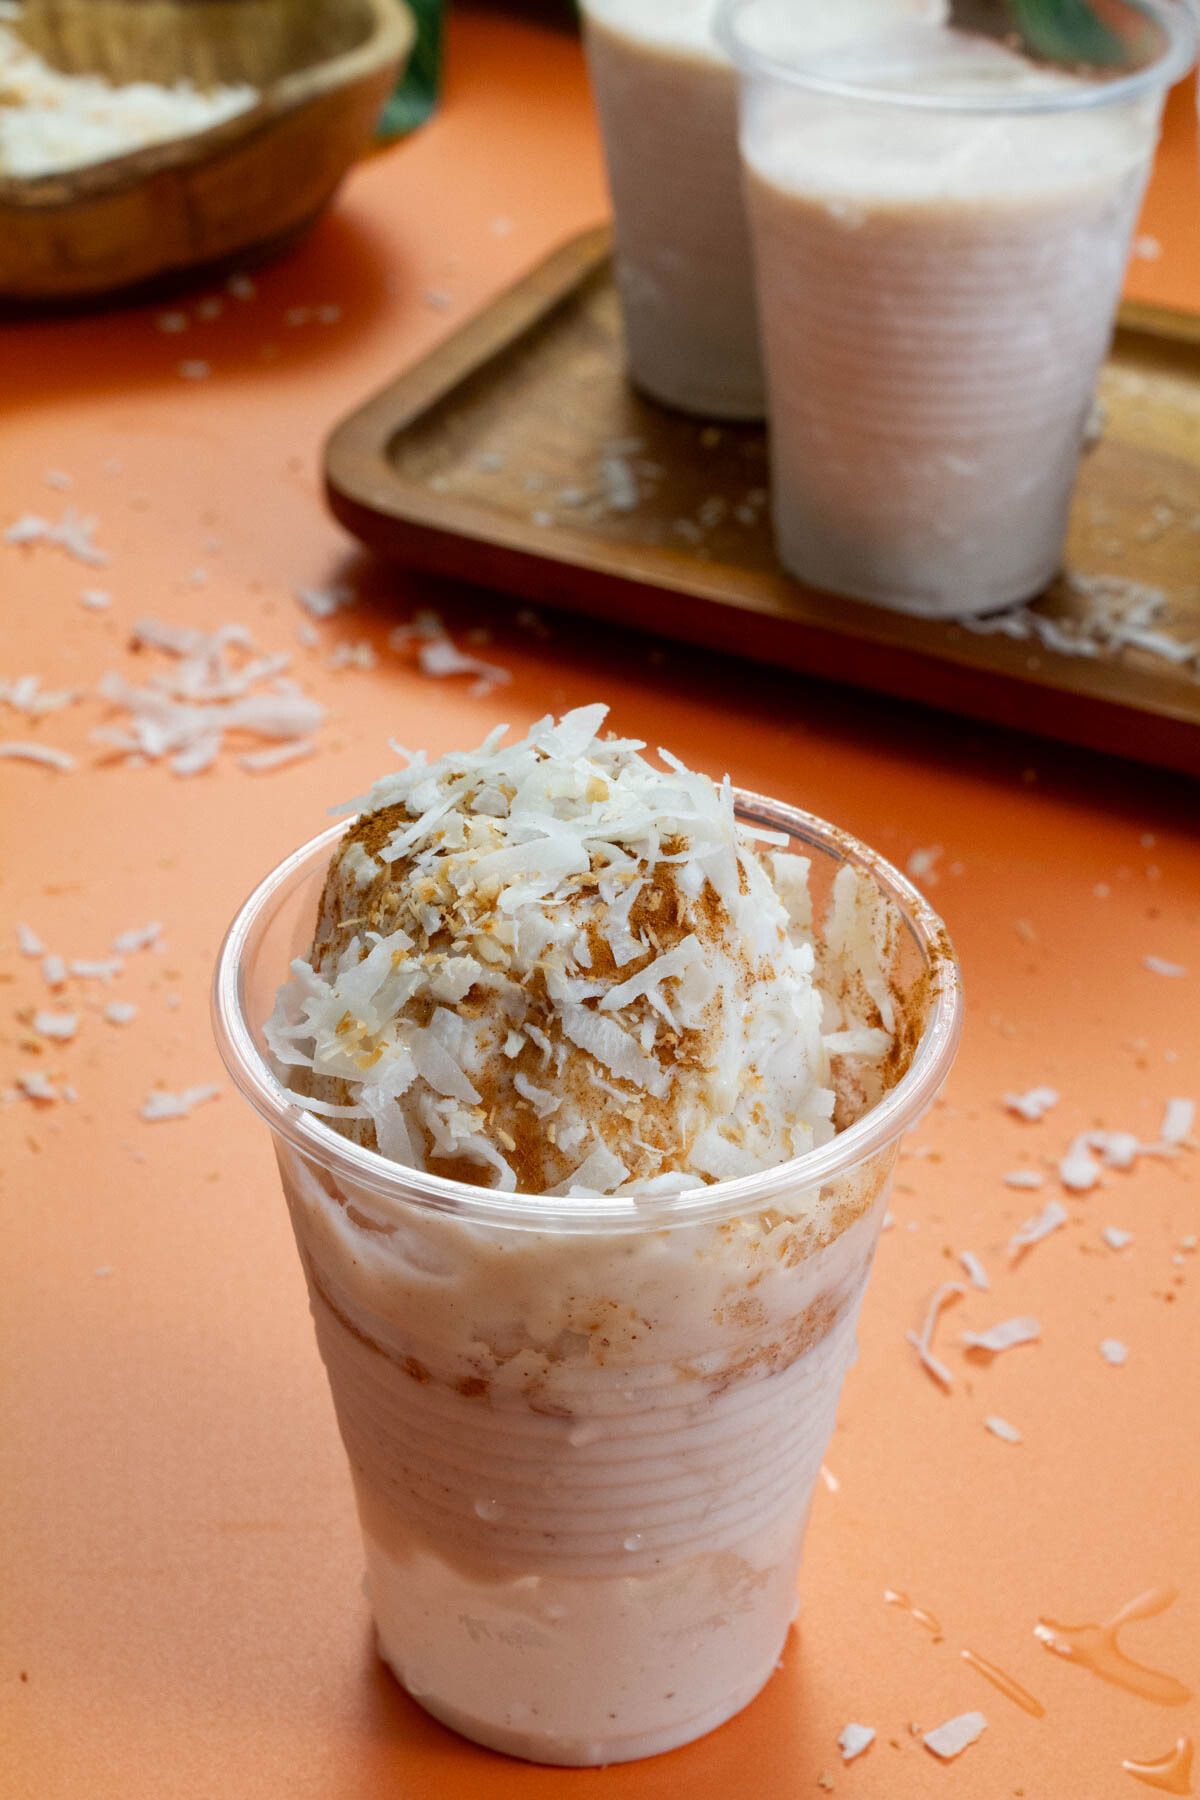
- Option to top your limber with a dusting of cinnamon or toasted coconut flakes.
⭐️How to Eat a Limber Like a Puerto Rican 🥶
Hold the cup in your hands just long enough to warm the sides, then give it a little squeeze so the limber pops out. Flip it upside down right back into the cup. Don't forget to lick your fingers! These Limbers de Coco are the perfect texture: firm enough to hold, soft enough to bite. So go ahead, bite into it or slurp it straight from the cup. The best part? They're basically mess-free. As they melt, everything stays right in the cup.
👩🍳 Expert Tips
- Freeze for 24 hours for the best texture, but 6-8 hours will usually yield a solid, limber texture.
- Use 7-oz disposable plastic cups with lids (if possible) to prevent freezer odors and cross-flavoring: They're the perfect size: not too small, not too big. Growing up, señoras would sell limbers in "dime size" (5-7 oz) and "quarter size" (10-12 oz). The big ones were fun... until they melted into coconut soup, lol. If you're making these for kids, the 5-7 oz range is just right and matches trendy silicone mold sizes. Or try silicone ice pop molds, they skip the satisfying "pop" but come in fun shapes and sizes.
- Toasted coconut flakes stirred in before freezing add great texture and a nutty pop of flavor.
- One batch is never enough. Yes, you'll probably end up making another batch right after. The good thing is that they take 24 hours to set, so you've time to pace yourself between batches. Built-in self-control.
Recipe FAQs
Yes! You can swap in sweetened condensed milk for a similar creamy sweetness. Just note the flavor will shift slightly from coconut-focused to more milky.
Limbers are frozen in cups and eaten by pushing them out, no churning, scooping, or eggs needed. Think of them as Puerto Rico's answer to a popsicle-meets-ice cream hybrid.
Not exactly. Coconut milk is the liquid base that gives the limber (or drink) its body and creamy consistency. Cream of coconut (like Coco Lopez) is sweetened and adds richness and bold coconut flavor, I use it for that signature taste. Coconut cream is thicker and unsweetened. You can use it in place of heavy cream, but it shouldn't be swapped in for coconut milk or cream of coconut since each plays a unique role in texture and flavor.
It's not required, but highly recommended. Gently warming the mixture helps the fats from the coconut milk, cream of coconut, and heavy cream blend into a smooth, stable base. This prevents separation and gives you a creamier, more cohesive texture once frozen. This step is what will set your limbers apart from the rest.
One to two months if stored in a sealed freezer bag. Just make sure they're covered to prevent freezer burn or picking up other odors.
Yes, you can. However, a blender won't emulsify the fats as effectively as gently warming the mixture does. Blending will combine the ingredients, but warming helps everything bond better and gives a smoother texture once frozen. If you're short on time, the blender works, but the stovetop method gives it a creamier texture.
More Desserts, Sweets, and Breads
- Puerto Rican Polvorones (Shortbread Cookies)
- Low-Carb Polvorones
- Puerto Rican Spice Cake (Hojaldre Añasqueño)
- Peanut Butter Blondies
I'd love to hear from you! Did you try this recipe? Leave a review and rating below. Let's connect on Instagram, and don't forget to join my weekly email list for fresh new recipes.
📖 Recipe

Limbers de Coco, Creamy Puerto Rican Coconut Ice Pops
Ingredients
- 1 can coconut milk
- 1 can cream of coconu
- ½ can coconut heavy cream
- 1 teaspoon cinnamon powder
- ½ teaspoon nutmeg
- ¼ teaspoon salt
- 1 teaspoon almond extract
- ½ teaspoon vanilla
Instructions
- Add all the ingredients to a pot and gently warm over low heat. Don't let it boil. Warming helps emulsify the fats, reduces excess water, and blends the spices evenly into the mix.
- Pour the mixture into disposable cups. I like to place the cups on a small plastic tray to catch any spills if they tip. Cover with lids, if available. Once fully frozen, transfer the limbers to a freezer bag for easier storage.

Notes
🔥 Top Tip
Warm the mixture before freezing.Gently warming your limber base helps the fats from the coconut milk, cream of coconut, and heavy cream merge into a smooth, stable emulsion so you avoid the crunchy, icy fat layer that forms when milk is refrozen. It’s the same principle used in ice cream making to prevent separation and maintain a silky texture. Science agrees that warming helps the fat emulsion stay stable as it freezes.
⭐️How to Eat a Limber Like a Puerto Rican 🥶
Hold the cup in your hands just long enough to warm the sides, then give it a little squeeze so the limber pops out. Flip it upside down right back into the cup. Don’t forget to lick your fingers! These Limbers de Coco are the perfect texture: firm enough to hold, soft enough to bite. So go ahead, bite into it or slurp it straight from the cup. The best part? They’re basically mess-free. As they melt, everything stays right in the cup.👩🍳 Expert Tips
- Freeze for 24 hours for the best texture, but 6-8 hours will usually yield a solid, limber texture.
- Use 7-oz disposable plastic cups with lids (if possible) to prevent freezer odors and cross-flavoring: They're the perfect size: not too small, not too big. Growing up, señoras would sell limbers in "dime size" (5-7 oz) and "quarter size" (10-12 oz). The big ones were fun... until they melted into coconut soup, lol. If you're making these for kids, the 5-7 oz range is just right and matches trendy silicone mold sizes. Or try silicone ice pop molds, they skip the satisfying "pop" but come in fun shapes and sizes.
- Toasted coconut flakes stirred in before freezing add great texture and a nutty pop of flavor.
- One batch is never enough. Yes, you'll probably end up making another batch right after. The good thing is that they take 24 hours to set, so you've time to pace yourself between batches. Built-in self-control.
Zoe Forestier Villegas says
I’ve made a lot of limbers in my day, but these Limbers de Coco hit different. No water, no shortcuts, just full-on coconut flavor from milk, cream, and cream of coconut. They freeze up creamy, not icy, and honestly taste like coconut ice cream in limber form. This is the one I always keep stocked in my freezer. Every. Summer.