
Any home renovation, be it the kitchen, bathroom, heck even getting a new living room or bedroom set can put the household under stress. We have decided to undertake a kitchen renovation, here at Girl Meets Fire. Even though this renovation does not include breaking down walls, (Hence the use of the word renovation and not remodel. Which we wished we could break down one particular wall, for it would open the kitchen to the living room, but c'est la vie), we still have a few ups and downs we must get through in order to finally see the end result.

To be completely honest, the renovation has not yet started, and I am already tightening up. Only because the process means I will not be able to cook and take pictures. Or work on my new phase of the blog which is creating videos and a cooking course. All of these things have slowed down considerably or halted until the near future. The blog has become a part of my life and it all surrounds one particular section of the house. It becomes quite hard and sometimes frustrating not to have access to that area of the house.
So today, instead of sharing a tasty recipe, I will share some of the ups and downs of facing this renovation. These are the things that either my husband or I have done or thought of while the process of renovating the kitchen.
What we had to work with
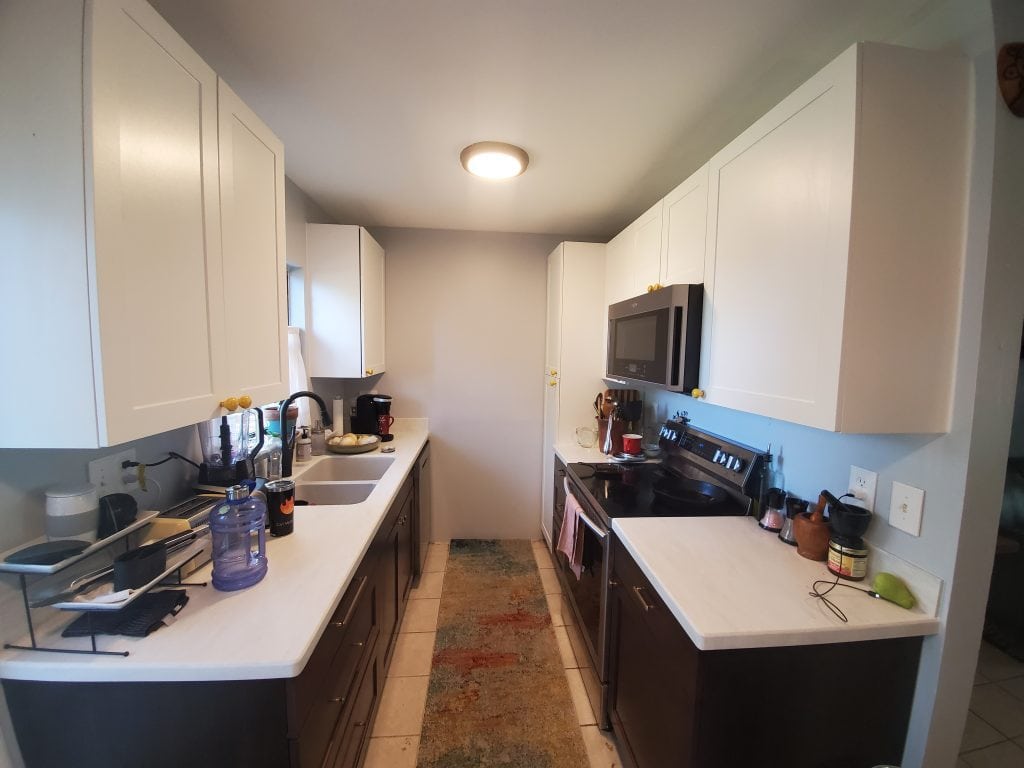
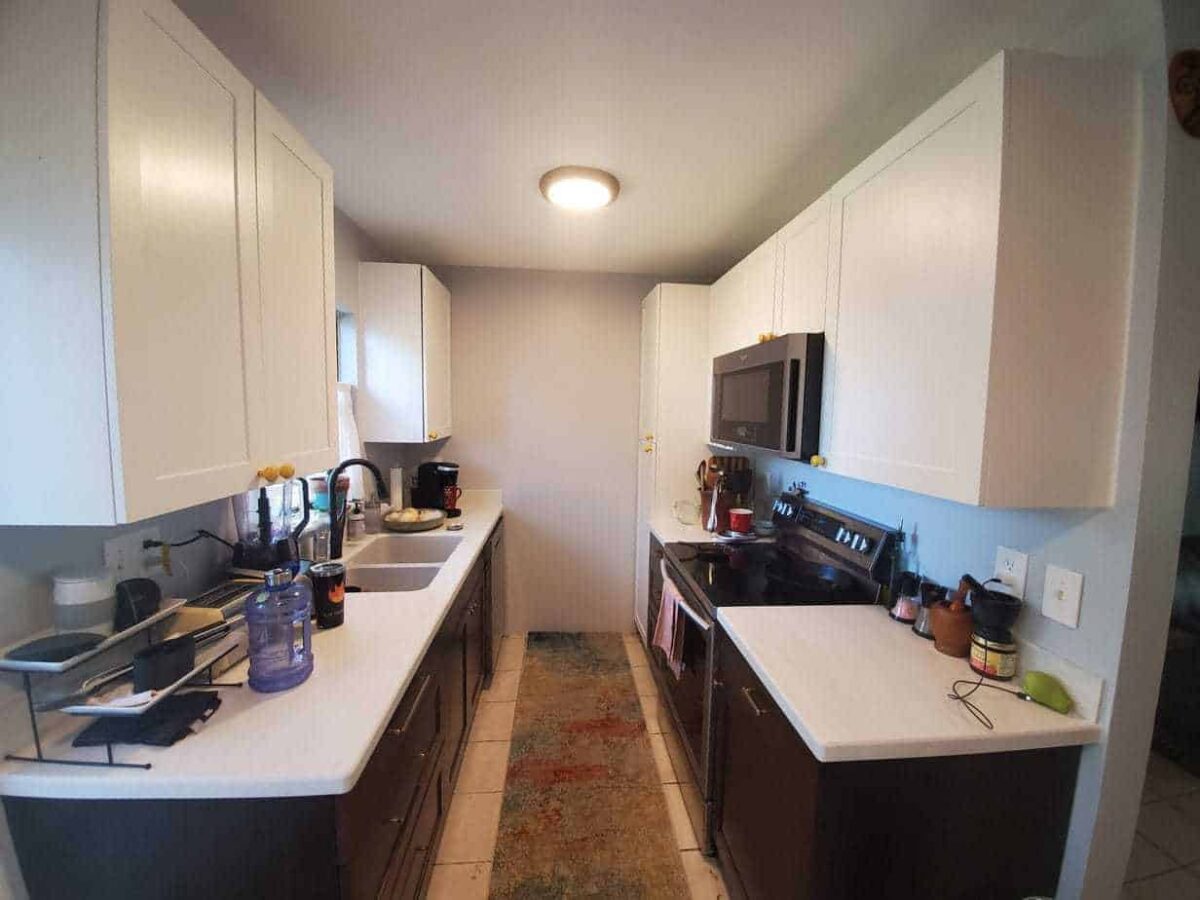
Ok, here is a picture of my beloved husband taking a selfie after he hung iron pipping to hang the cast iron skillets we have collected. The pipping and skillet display were my favorite feature of the old kitchen. But as you can see, I do not have any wall cabinets, on either side of the kitchen. My kitchen is a very small galley kitchen from the 1960s ('58 to be exact). The kitchen is about 7.5 feet deep, not very deep at all.
At this moment it has 4 base cabinets that I had purchased at IKEA back in 2010, with butcher block. Another feature I enjoy. When I decided to put base cabinets in the kitchen, the kitchen didn't have any cabinets to begin with. All it had were cheap islands from Kmart and Walmart holding our pots, pans, cups, and groceries. There was no space to prep any food and we didn't have good cutting boards, so I resolve to go with butcher block where the entire kitchen would be a cutting board, lol.
The IKEA cabinets have worked great for the time being until the humidity got to them and the doors particle board began to bubble and the paint to peel. By the time this had happened, IKEA had discontinued the series I had bought and in order for me to replace the doors I would have to restart all over since, as told by an IKEA associate, the pegs to the new doors won't match the old cabinets. I couldn't afford wall units so I installed shelves, which my now husband upgraded and reinforced.
1. Prioritize the space
Looking back, at my first renovation, the renovation was a success. I had areas I could utilize to keep food, equipment, and supplies. But as much as I tried to utilize every inch of space available, I was not very successful. Instead I ended with dead spaces, and areas were not used in their full potential.
Looking forward to the new renovation, this is something we would like to prevent from happening again. At this point my pantry is a metal shelf unit. The addition of five wall cabinets and a tall pantry unit, will provide plenty of room for our pantry needs. In all honesty, we do not need much pantry space, since we do not buy many canned/boxed items as it is.
I have been doing some research on how to optimize my kitchen's storage and I have found these two posts; How to Organize your Kitchen and Deep Narrow Pantry Organization. Both gave me ideas on how to configure my needs within my new space. Ultimately, it will come down to day one of new kitchen and both my husband and I deciding where the best space is for everything we have.
2. Time to sort and itemize
Sorting and itemizing are my least favorite tasks. It involves dealing, sometimes, with feelings I might not be ready to deal with. Feelings of how I came into possession of an item, why it means so much to me, do I even use this item, and if not, why not? I have come a long way from being a pack rat. I have been able to go into an area and throw out, donate, or gift numerous amounts of items. But there are always a few items that hold a special sentimental value which I cannot let go of.
Then, there are the items that both my husband and I have independently collected and are the same or very similar. Which one goes, his or mine? When we first moved in together last year, we had sorted through most of his and mine things and gave away quite a bit. We did keep a few similar items and have gather a few more since. The process of dismantling the kitchen has given us the opportunity to sort through some of them and to think what do we really use and really need.
3. Think of the end result
The thought of the end result is the one leading thought helping me through this. I also think of all the short comings the current kitchen has and how much better it will be once it is all done.
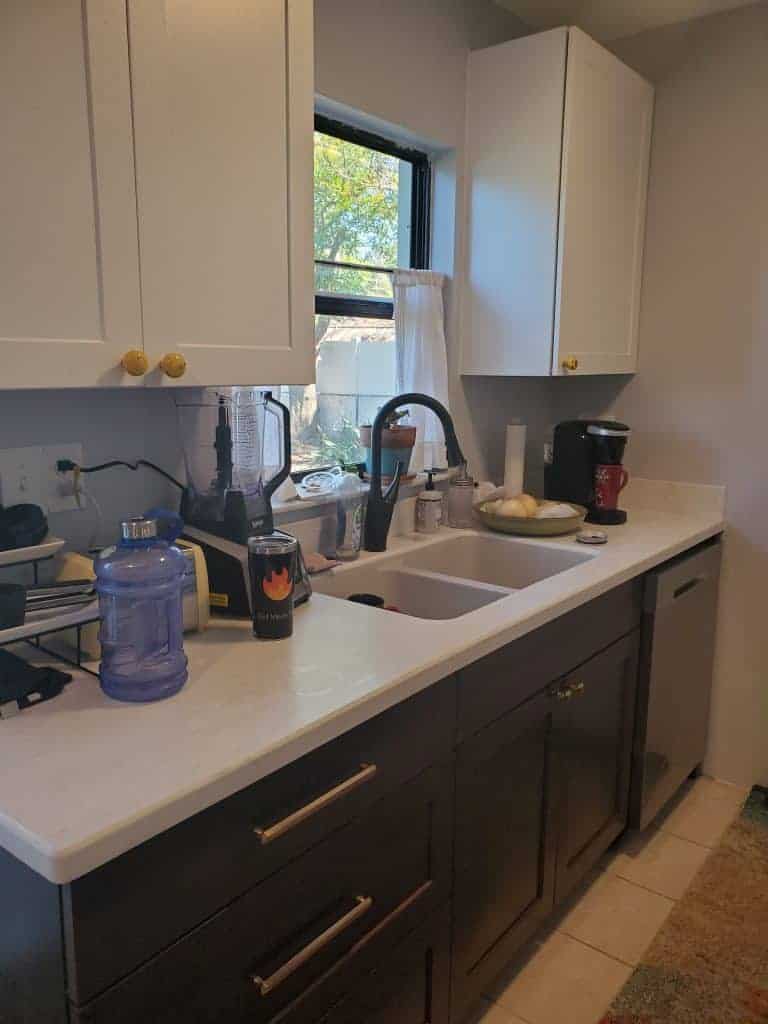
For example, outlets. Let's remember this house was built in 1958 and the use of electrical outlets was not the same as it is today. Not every piece of equipment needed to be plugged or charged. Inside my tiny 7.5 foot kitchen I only have two outlets available but own about seven items that need to be plugged in order for them to be used. Right now, I have two outlet extensions plugged in each of my wall outlets to give me a better range. Once the kitchen is done I would have four outlets with two units each. I will no longer have to unplug one thing to use the other or have cables of extension cords running through the kitchen.
The current kitchen does not have a vent hood. We placed an air filter machine which we turn on when we cook to remove the smoke and the smell of cooking. Almost all the pots, cups, plates, and anything else that is seating on the shelves are covered with sticky oily goop. The new kitchen has a microwave that seats above the stove with a ventilator and a light. This alone will eliminate all the problems listed above.
Currently, dishes are washed by hand. Although I had bought a dishwasher from IKEA when I bought my new cabinets back in 2010, the dishwater ceased to work about 3 years after installation. Long story short, we are still washing dishes by hand. In the new kitchen we will have a new dishwasher. This helps wonders since I cook so much due to the blog itself. Sometimes it is just so nice to eat and relax and let the dishwasher take care of the dishes.
4. Make it your own
Once Craig and I decided on how many cabinets, who to purchase from, and the ins and outs of the installation, we focused our sights on the little things that will make this kitchen ours and not something we have to put up with.
Here are a few of the things we have started looking at to make this kitchen renovation our own special twist.
- DOOR KNOBS AND DRAWER PULLS
- ARTWORK/WALL DECOR
- COORDINATING COLORS
- MOTION ACTIVATED FAUCET, NOT AS EXPENSIVE AS WE THOUGHT!
5. Explore new venues
Even though we did have a stove available, we did not have a sink to wash dishes or tools used in the preparation of our food. We do have a few options, though; we could have made everything in disposable pans and ate with disposable cutlery and plates, or we could eat out. Here a few of our thoughts in regards to what is for dinner.
- Take the time to explore new places. Try visiting the small restaurants near you that you never visited before. You might find hidden gems with amazing dining experiences. Also, this is a great opportunity to try new cuisines.
- Get to know your barbie. Grilling and barbecuing is an art form all of its own and a skill I hope to get better at in the next year. Although we cannot barbecue every day of the week, we can definitely do so on the weekend.
- Offer to cook for a friend or family at their place. I know that we should be limiting contact with other people with the times, but a small group of people should still be acceptable.
Keep breathing
I used to teach yoga and one of the directions I would repeat in between poses and throughout the session was to keep breathing. To not hold your breath in the midst of the discomfort, but instead to continue a slow, meditative, mindful breath. Why? Because when we do not breath our bodies and mind default to panic and stress. When we breath, especially mindful breathing, our minds and bodies realize that whatever we are facing will pass. We trigger a parasympathetic response or rest and calm.
Any home renovation or remodel is chaotic. Do not add to the chaos by overly stressing. Take each stage one step and one breath at the time. Before you know it, the project will be done and you soon will enjoy your new kitchen.
Good luck and keep breathing!